
Wealthy Hair Guides
Sew Ins Curly Weaves: Pics, Tips, And Tricks!

You’ve recently been captivated by the beauty of those stunning sew-in curly hairstyles you see all over Instagram, and you want to try them out for yourself. The thought of achieving that perfect blend of curls has kept you up at night as you imagine how beautiful it will look on you. But before jumping into the deep end, wouldn’t it be great to know the tips and tricks for achieving flawless sew-in curly weaves?
Without proper preparation, styling, and care, your curly hair might end up looking dry, frizzy, and flat. You could also face issues with shedding, matting, or tangling due to improper installation of the weaves.
But don’t worry; with this guide, you’ll have all the necessary information at your fingertips to get those beautiful curls! We’ll take you through all the necessary steps to ensure that your curls look just as stunning in real life as they do on Instagram.
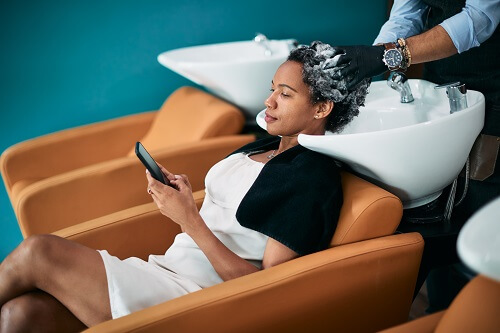
Prepping Hair For Sew-In Installation

To get the most out of your sew-in installation, you need to make sure that your natural hair is properly prepped before you start. Here’s how you can get ready for the perfect curly sew-in!
1. Wash And Condition Your Natural Hair
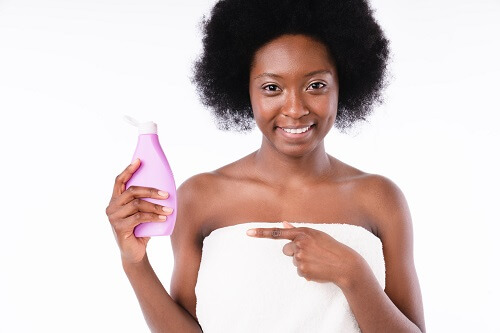
Before beginning any type of hair styling, it’s important to make sure that your straight hair is clean and healthy. Start by using a gentle sulfate-free shampoo and conditioner on your natural hair, followed by a deep conditioning treatment if needed. This will help ensure that your curls are soft and manageable when you begin styling them.
2. Remove Knots and Tangles
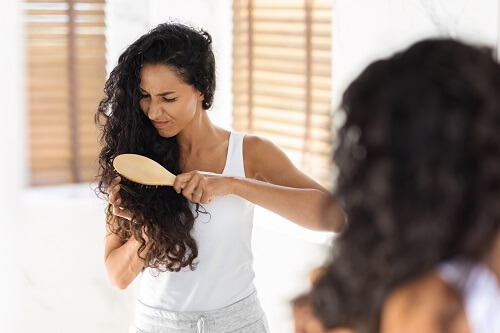
Once you have washed and conditioned your natural hair, use a wide-tooth comb or detangling brush to remove any knots or tangles from your strands. If necessary, use a small amount of leave-in conditioner or detangler spray to help ease any stubborn knots out of the hair. Be sure not to apply too much product, though; too much product can weigh down the strands and prevent them from curling properly.
3. Brushing Hair into a Tangle-Free State
After all the knots are removed from the hair, use a boar bristle brush or paddle brush to smooth out any remaining tangles and create an even distribution of curl pattern throughout each section of the head. Make sure that all sections are brushed through thoroughly before beginning the installation process.
4. Creating Sections To Make Installation Easier

The last step in prepping for your curly sew-in is dividing up the strands into neat sections that will allow for even distribution during installation. Begin by separating the front section into four quadrants (left side, right side, top front, bottom front) then move on to making smaller subsections within these larger sections until each strand has been divided up evenly across the head. This will make it easier for you or your stylist to install each piece seamlessly when it comes time for installation!
ATTENTION: Turn Your Passion For Hair Into Profit ⬇️⬇️⬇️

Types Of Curly Leave Out Sew In Styles
If you’re in search of an edgy, on-trend look, a sew-in weave with leave-out can be just the style for you. Read on to learn more about four different options of curly hair sew-in styles that you can try!
1. Curly Hair Sew In With Leave Out

If you’re looking for a timeless classic, try a curly hair sew-in with leave-out. This style combines your natural hair, which is left out at the front and around the sides, with wefted extensions that are sewn into braids at the back and sides of your head. You get the best of both worlds – bouncy curls and protective styling for your natural hair!
2. Curly Hair Weave With Leave Out

If you are looking for glamor, feel free to go for a curly hair weave with leave out. This style uses bundles of curly weaves that are secured by braiding or bonding (using adhesive). By leaving some of your curls around the sides and at the front of your head, this style allows you to blend both textures seamlessly – giving you an ultra-luxe look that will turn heads wherever you go.
3. Wet And Wavy Sew In With Leave Out

If you want to make a statement but still keep things low maintenance, then why not opt for a wet and wavy sew-in? This look involves using wet and wavy bundles sewn into small braids at the back of your head while leaving out some natural curls around the edges – creating an effortless yet dramatic effect. Best part? The wet and wavy bundles are pre-curled so all you have to do is wash them periodically to maintain their shape.
4. Sew In Curly Hair With Leave Out

Finally, if it’s volume that you desire then why not try a sew-in curly hair with leave out? This style involves sewing bundles of super-voluminous curly hair onto small cornrow braids at the back and sides whilst leaving some of your natural curls free around the edges.
Installing The Sew In Curls – Tips And Tricks
Before you can start rocking those gorgeous curls, there are a few steps you should know about so that you can install your weave properly and safely. Keep reading for helpful tips and tricks on how to install the sew-in curls of your dreams!
A. Applying the Weave to Your Braids
The first step of installing sew-in curls is applying the weave extensions to your braids. Start by creating small, neat cornrows throughout your scalp. Once complete, separate each braid into two parts and thread one part through the loop of a single weft of hair extensions.
B. Sew In Hair Extensions Curly Weave
Once all of your wefts are secured, it’s time to start sewing them in place. To do so, begin at one end of your head and use an up-and-down motion as you work across each section of braids until they’ve been completely sewn together with the weave extensions. Make sure that you pull both sides tight and evenly when sewing to avoid any lumps or bumps when finished!
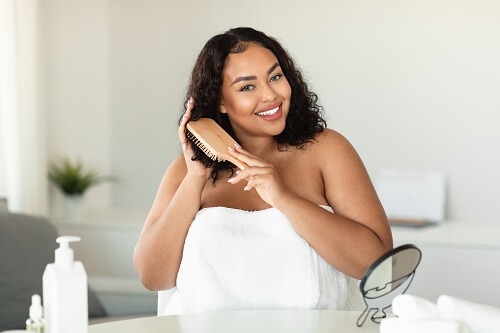
C. Styling The Sew In Hair Curly Weave
Finally, it’s time to style those beautiful sew-in curls! Begin by shampooing and conditioning both your natural hair and extension hair separately using curling wand and products designed specifically for curly hair like deep conditioners or curl creams. Then wring out any excess water from both sets of strands before separating them into 4–6 sections for styling. You can also style your hair to achieve deep wave.
Conclusion

A sew-in curly weave can be a great way to switch up your look without damaging your natural hair. To ensure the best results, it is important to properly prepare hair before installation by brushing out any knots or tangles and dividing strands into neat sections.
Additionally, when installing the weave extensions, make sure to braid your natural hair into small, neat cornrows and secure the wefts at their base before sewing them in place. With a little bit of know-how and patience, you’ll be ready to show off those gorgeous curls in no time!
FAQs On Sew-In Curly Weaves
Q: How long do curly sew in extensions last?
A: On average, a curly sew-in extension can last up to 6–8 weeks with proper maintenance.
Q: What tools are needed to install curly hair full sew in?
A: To install a sew-in curly weaves, you will need scissors or a razor to trim excess fabric, needle and thread or clips to secure wefts, a wide tooth comb or pick comb for detangling, and products specifically designed for curly hair.
Q: How do I protect my curly hair from damage?

To protect your natural hair and your extensions from damage, always use a heat protectant before curling and keep the heat levels on low or medium settings. Once you’ve achieved the desired curl pattern, make sure to set
Q: Can curly weave with leave out be reused?
A: Yes! Sew-in curly weaves can last up to 8 weeks before needing to be removed and reinstalled. With proper care and maintenance, you can reuse the same weave for up to 3–4 installations.
Q: What type of hair should I use for a curly sew in with leave out?
A: When selecting hair for your curly sew-in, it is important to look for 100% human hair specifically designed for curly styles. This will help ensure the most natural-looking and longest-lasting results. Additionally, be sure to pick a hair color that matches your own as closely as possible to avoid any potential blending issues.
Q: How often should I wash my sew-in curly weave?
A: It is recommended to shampoo and condition your sew-in curly weave every 2–3 weeks. Additionally, be sure to use products specifically designed for curly hair to maintain moisture and reduce frizz.
Q: What are some tips for styling my wet and wavy weave with leave out?
A: When styling your wavy weave, it is important to use products specifically designed for curly hair and thoroughly detangle each strand before drying or allowing it to air-dry naturally.
Q: What are the benefits of a sew-in curly weave install?
A: Sew-in curly weaves have several great benefits, including a natural-looking appearance and minimal time investment.
Q: Is a deep curly sew in with leave out right for me?

A: A deep curly sew-in with leave-out can be a great choice for those wanting to add volume and be able to show off some of their strands.
Q: Can Sew-Ins improve my natural hair texture?
A: Yes! Sew-in weaves can help give you a more natural look and feel by adding body and texture to your hair. They can also give your own hair a break.
You will agree that sew ins curly weaves can add some length and volume to your hair without damaging it with harsh chemicals or heat. But how do you choose the right Curly Hair Extensions? This article will guide you: The Complete Guide to Curly Hair Extensions.
Want to learn how to curl your hair to give you that unique look? Check out this article on Curling Hair Extensions: Curling Hair Extensions – Tips and Tricks for Flawless Curls.