
wigs for black women
How To Install A Glueless Wig (Step-By-Step Guide)
Whether you’re a beginner or a veteran, installing a glueless wig can be tricky. If you’ve never installed a wig before, then it can be intimidating and overwhelming. But don’t worry – this step-by-step guide will show you how to install a glueless wig like a pro in no time! First, let’s show you things you need to do before your start your installation.
Preparing Your Wig Before Installation
Before you can begin your transformation, you need to prep your wig. Here’s how!
Create An Even Surface
Before you start installing your glueless wig, it is important to make sure that the surface of your scalp is smooth and even. Start by lightly exfoliating your scalp and then apply a moisturizing oil or balm to create a barrier against any possible irritation from the adhesive.
Measure Your Head for Cap Size
Remember that not all caps are created equal, so you must measure your head before selecting the right size cap for you. Try using measuring tape around the circumference of your head from ear to ear and across the forehead, then compare those measurements against sizes offered by the manufacturer of your wig. This will ensure that you get a perfect fit each time!
Secure Your Hairline
To ensure that the edges of your glueless wig lay perfectly flat, use a few bobby pins to secure any stray hairs along your hairline. This will give you an extra layer of security and help keep everything in place while wearing it throughout the day.
Installing A Glueless Wig – Step-By-Step Guide

Whether you’re looking for a fresh start, want to try out a new style, or just want some extra volume, installing a wig can be a great option. But where should you start? Here’s our step-by-step guide on how to install a hair wig at home like an expert.
Step 1: Pick your Wig
The first step to getting the perfect look is picking the right wig for your face shape. This is important because it will determine the overall look of your finished style. Consider color, length, texture, and curl pattern when choosing the right wig for you.
Step 2: Prepare Your Hair
Now that you have chosen the perfect wig, it’s time to prepare your hair for installation. Before putting on your new unit, make sure all of your natural hair is tucked away neatly with bobby pins and tucked into a cap or scarf so that it does not interfere with the installation process. This will also ensure that your natural hair stays protected while wearing the unit.
Step 3: Put On The Wig
Once you’ve prepped your natural hair and placed it under a cap or scarf, it’s time to put on the wig. Start by placing the front edge of the unit along your forehead line and then pulling back until it sits comfortably on top of your head. Make sure not to pull too tightly as this can cause discomfort and damage to both the unit and your natural hair underneath. Secure by using adjustable straps at the nape of the neck or around the ears if needed.
Step 4: Style As Needed
Step four is all about styling! Depending on what type of look you are going for, you may need to style your glueless wig with curling irons, flat irons, or even just finger-styling with a product to achieve desired results. There are endless looks that can be achieved with some creativity!
Best Products To Maintain Glueless Wigs
After installation, you’ll need to maintain the hair wig with the right products.
Let’s take a look at some of the best hair products for creating a beautiful hairstyle with a wig.
Heat Protectant Spray
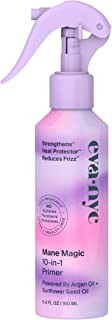
The most important thing to remember when styling your wig is that it’s not growing from your head! This means you’ll need to use heat protectant spray before using any heat styling tools on it. Heat protectant will ensure that the fibers in your wig don’t get damaged or burned by hot tools like curling irons and blow dryers. It’s also important to read the instructions of any heat styling tools you’re using on your wig as they may suggest using special settings or temperatures for synthetic hair.
Hair Mousse
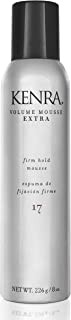
If you want to add volume and texture to your wig, then mousses are the way to go! A good quality mousse will help add body and definition without weighing down the hair. Make sure you apply an even amount throughout so that all of your locks look full and voluminous. You can also use mousse after curling or straightening so that your style stays put all day long.
Hairspray
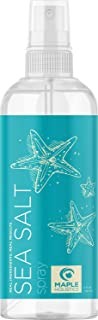
Once you’ve finished styling, hairspray is essential for locking everything into place. Hairsprays come in various formulas ranging from light hold to stronghold, so make sure you choose one that suits your desired style and level of hold. Keep in mind that too much hairspray can leave behind a sticky residue, so use it sparingly!
Conclusion
Now that you know all there is to know about installing a glueless wig like an expert stylist, go out there and get creative! With practice comes perfection when creating beautiful hairstyles with wigs – so experiment away until you find what works best for you!
Whether you want long locks or tight curls – let this step-by-step guide help pave the way for fabulous styles!
FAQs On Installing A Glueless Wig
Q: What’s the best way to install a glueless wig?
A: The best way to install a glueless wig is to start by prepping your natural hair and tucking it away under a cap or scarf. Then, place the front edge of the unit along your forehead line and pull back until it sits comfortably on top of your head.
Q: What products should I use to maintain my wig?
A: To protect your wig from heat damage, always use a heat protectant spray before using any heat-styling tools. Additionally, mousse can help add volume and texture to your wig, while hairspray can help lock everything into place.
Q: Can a glueless wig be washed?
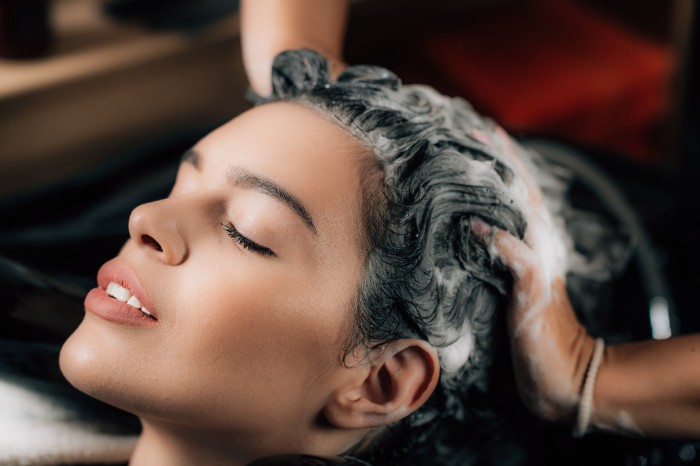
A: Yes, a glueless wig can be washed! However, it is important to read the instructions for the specific wig to ensure you follow the correct washing and drying techniques for that unit.
