
Wealthy Hair Guides
Installing Hair Made Simple: A Beginner’s Guide
The 60-Second Answer:
Installing hair is easier when you start with clean, detangled hair and choose a method that fits your skill level. Beginners can try sew-ins or wigs, depending on the look they want. When installing your hair extensions, protect your scalp, avoid tight tension, blend the extensions well, and follow proper care steps to keep the style fresh and natural.
Understanding The Different Types Of Hair Extensions
When it comes to hair extension installation, there are many different types available, each with its own set of benefits and drawbacks. The best methods usually depend on your hair density and lifestyle, and the two most popular types of weave hair extensions are sew-in and tape-in extensions.
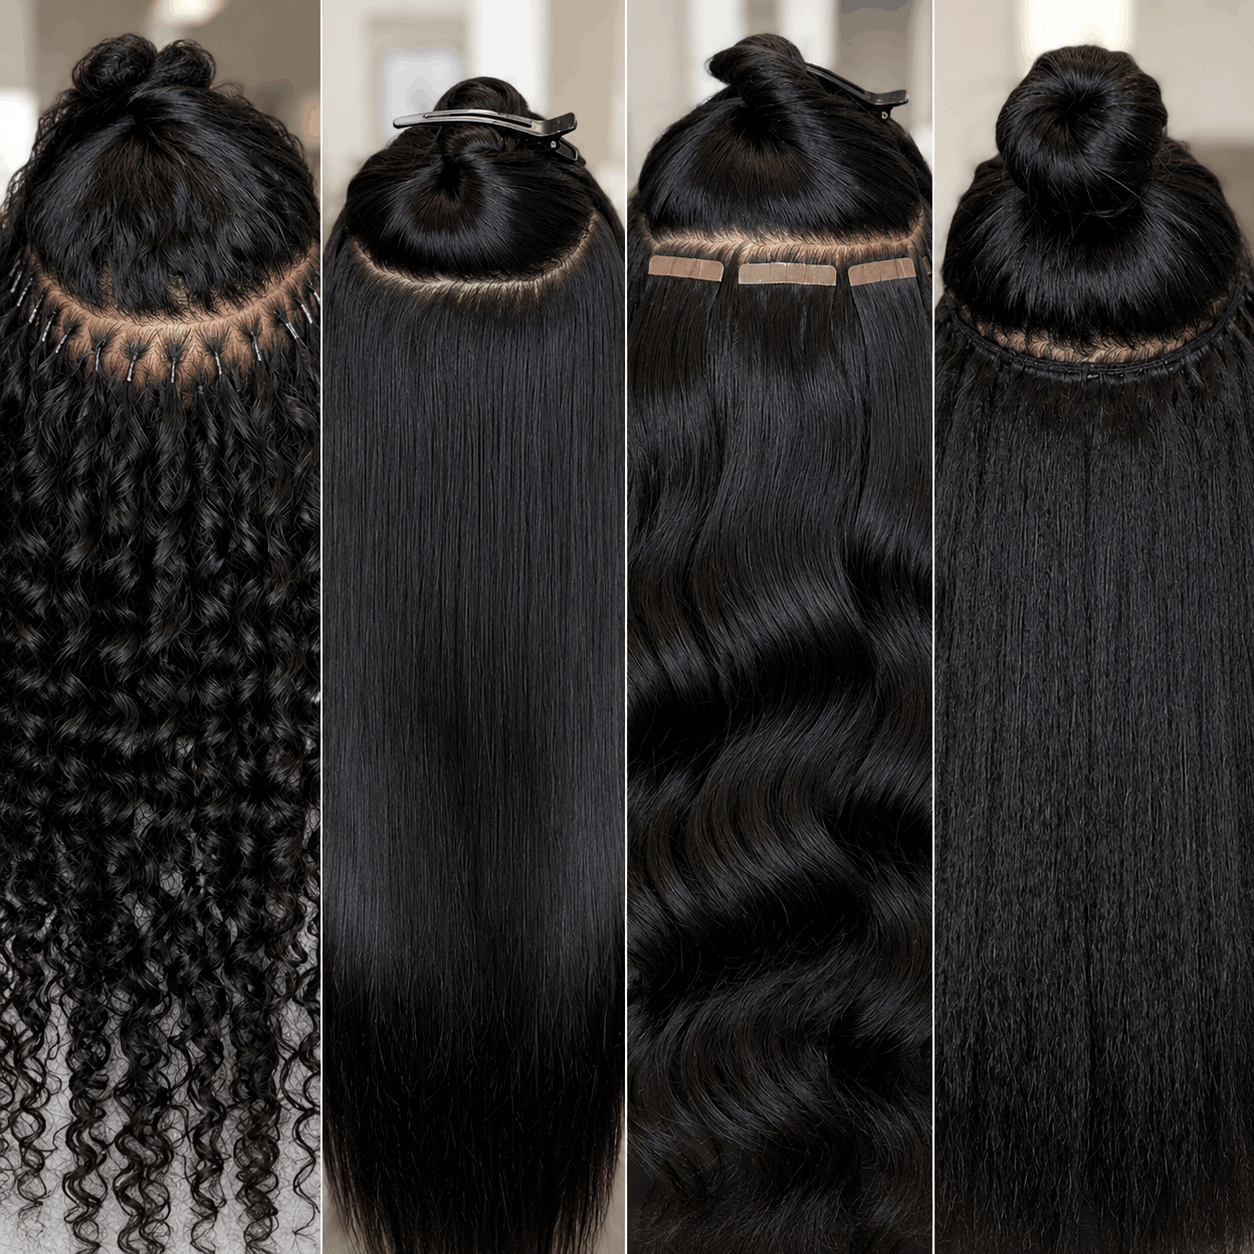
Sew-in hair weaves are super popular because they look so natural and can last for several months. To apply them, your hair is braided in a specific pattern and then the extensions are sewn onto the braids. This method is great if you’re looking for a long-term solution that looks and feels like your own hair. If your hair is thick, it can usually support heavier sew-ins or fusion methods with less tension.
On the other hand, if you’re looking for a quick and easy installation, tape-in extensions might be the way to go. They use a special tape adhesive to attach the extensions to your own hair, sandwiching sections of natural hair between wefts for a seamless blend, and can last up to 8 weeks.
So, whether you’re looking for a long-term or short-term solution, there’s a type of hair extension that’s perfect for you. Halo extensions are also a non-damaging option that does not require professional application. And with sew-in and tape-in extensions being the most popular options out there, you really can’t go wrong!
Want to know the difference between weave vs wig? Check out this comparison guide: What Is The Difference Between A Lace Front Wig and Hair Weave.
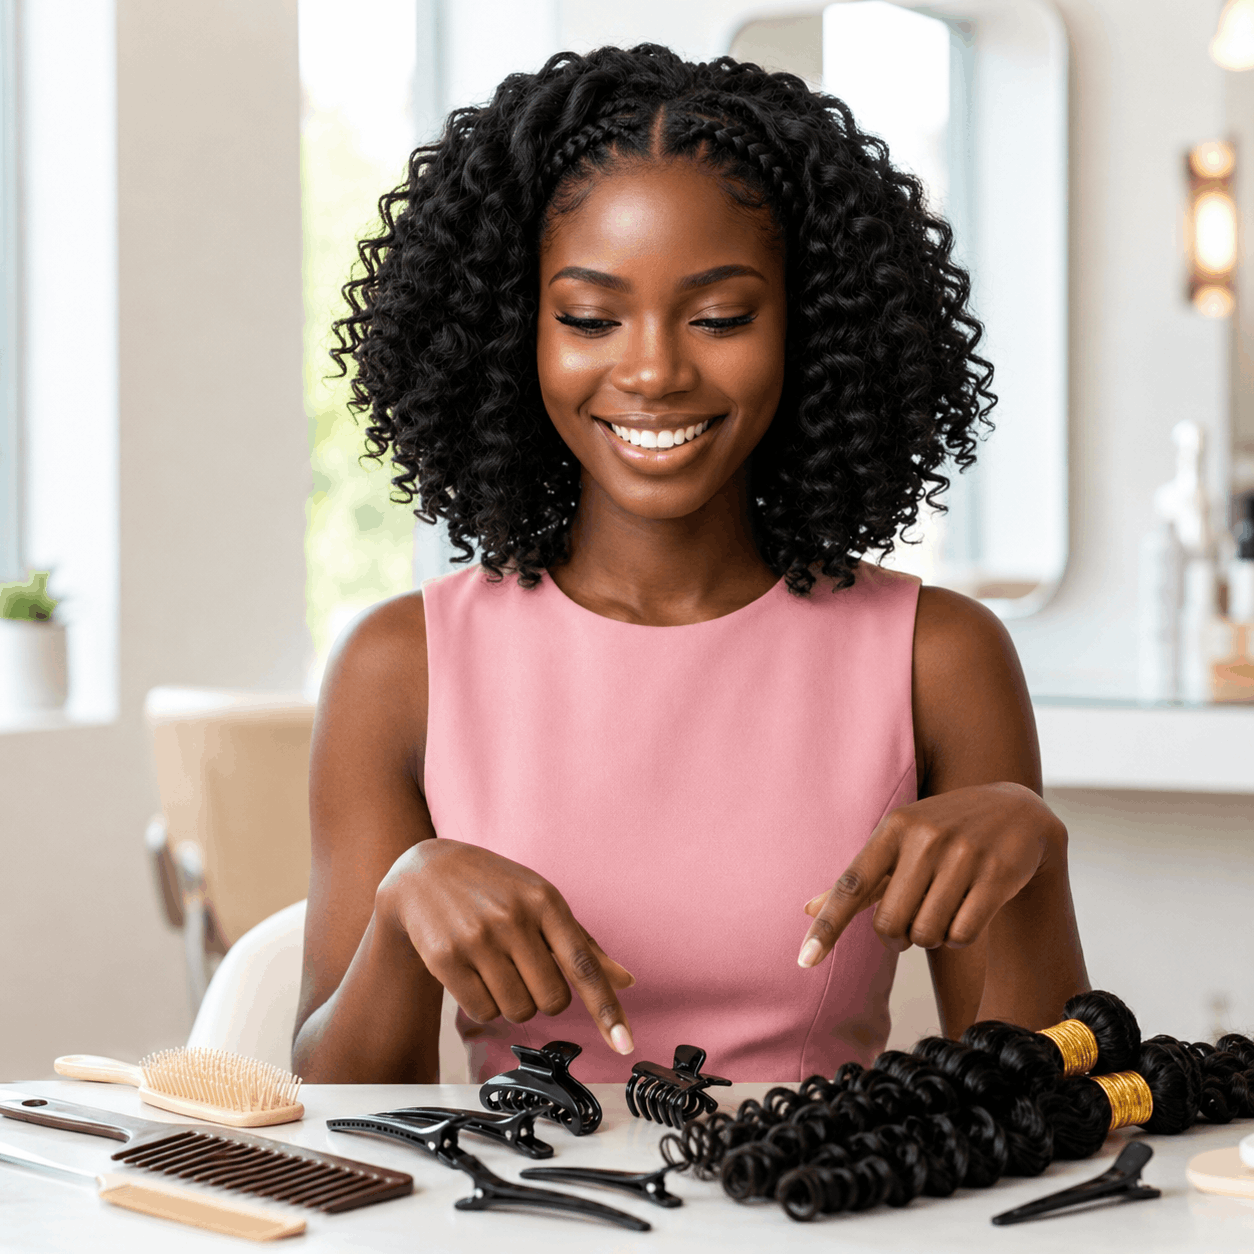
How to Choose the Right Type of Hair Extension for You
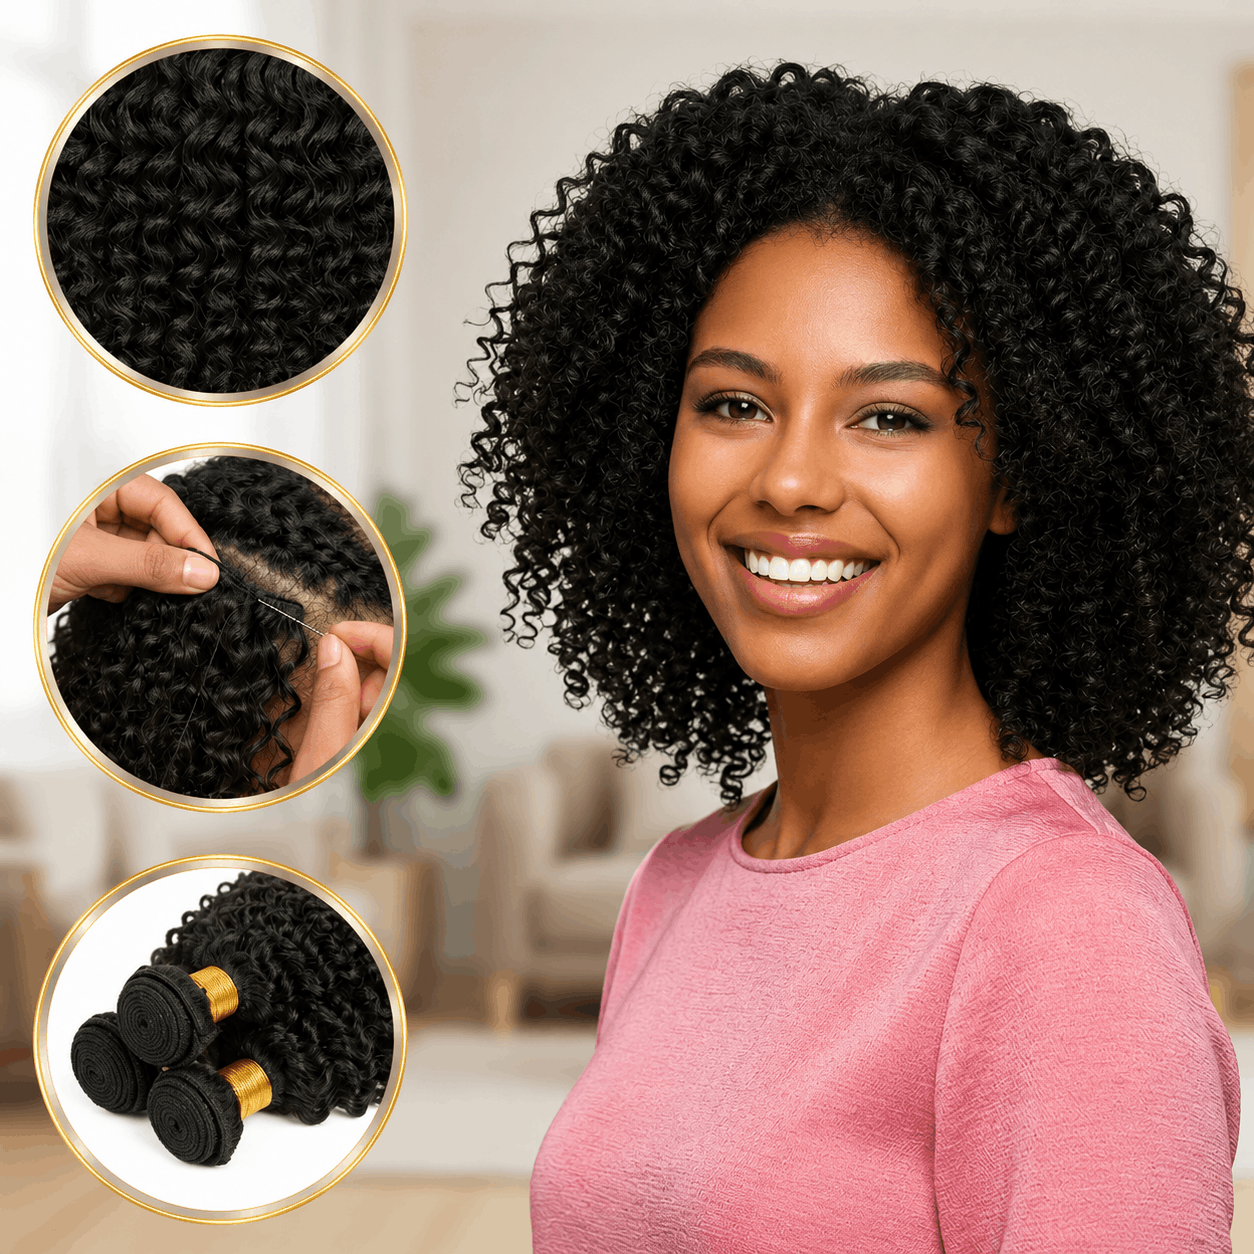
Choosing the perfect type can be overwhelming, but fear not, I’ve got you covered. The key is to figure out what you need and what’s available in the market. Consider your hair’s length, color, texture, and how much time you can spare to style it.
The most important thing is to make sure your chosen hair extension matches your hair color and texture for a seamless blend. You don’t want to look like you’re wearing a wig, right? Also, don’t forget to research different brands to find high-quality products that won’t harm your beautiful locks or scalp.
Now that you know how to select the right extension for you, it’s time to talk about the installation process.
Comparison Table: Sew-In vs Wig Hair Installation
| Feature | Sew-In Hair Installation | Wig Hair Installation |
|---|---|---|
| Best For | A longer-lasting style that feels close to natural hair | A quick style change with less commitment |
| Installation Method | Your hair is braided into cornrows, then hair wefts are sewn onto the braids with needle and thread | A wig is placed over your real hair, usually with a wig cap, clips, combs, elastic band, glue, tape, or glueless fit |
| Beginner Friendly | Medium difficulty; best done by a stylist if you are new | Very beginner friendly, especially glueless wigs |
| Installation Time | Usually 1 to 4 hours, depending on braid pattern, leave-out, and amount of hair installed | Usually 10 minutes to 1 hour, depending on whether it is glueless, glued, or customized |
| How Long It Lasts | About 6 to 8 weeks with proper care | Glueless wigs can be worn daily and removed at night; glued wig installs may last several days to 2 weeks |
| Natural Look | Very natural when the texture, color, and leave-out blend well | Very natural when the lace, parting, hairline, and density are customized properly |
| Scalp Access | Limited scalp access because the hair is braided underneath | Easier scalp access if the wig is removed regularly |
| Maintenance Level | Medium to high; you must cleanse the scalp, protect the leave-out, and avoid buildup | Low to medium; depends on whether the wig is glued down or removed daily |
| Tension Risk | Can cause tension if braids are too tight or too much hair is sewn in | Lower tension with glueless wigs, but glue or tight bands can irritate edges if used incorrectly |
| Best Hair Type | Works well for thicker hair that can support braids and sewn tracks | Works for many hair types, including thin, thick, short, or transitioning hair |
| Styling Flexibility | Good, but depends on the sew-in pattern and leave-out | Very flexible; you can switch styles, colors, lengths, and textures easily |
| Protective Style Benefit | Protects most of the natural hair when installed properly | Protects your hair well when the hair underneath is moisturized, braided flat, and not stressed |
| Removal Process | Must carefully cut thread and remove tracks without cutting your real hair | Usually simple for glueless wigs; glued wigs need proper adhesive remover |
| Best Choice If You Want | A secure, lo |
What To Expect During The Weave Hair Extension Installation Process
Installing weave hair extensions is easy and requires minimal effort. Before beginning, make sure you have all the necessary supplies, such as a brush, comb, clips, and glue or tape. Depending on the type of extensions you’ve chosen, the installation process can take anywhere from 15 minutes to an hour or more.
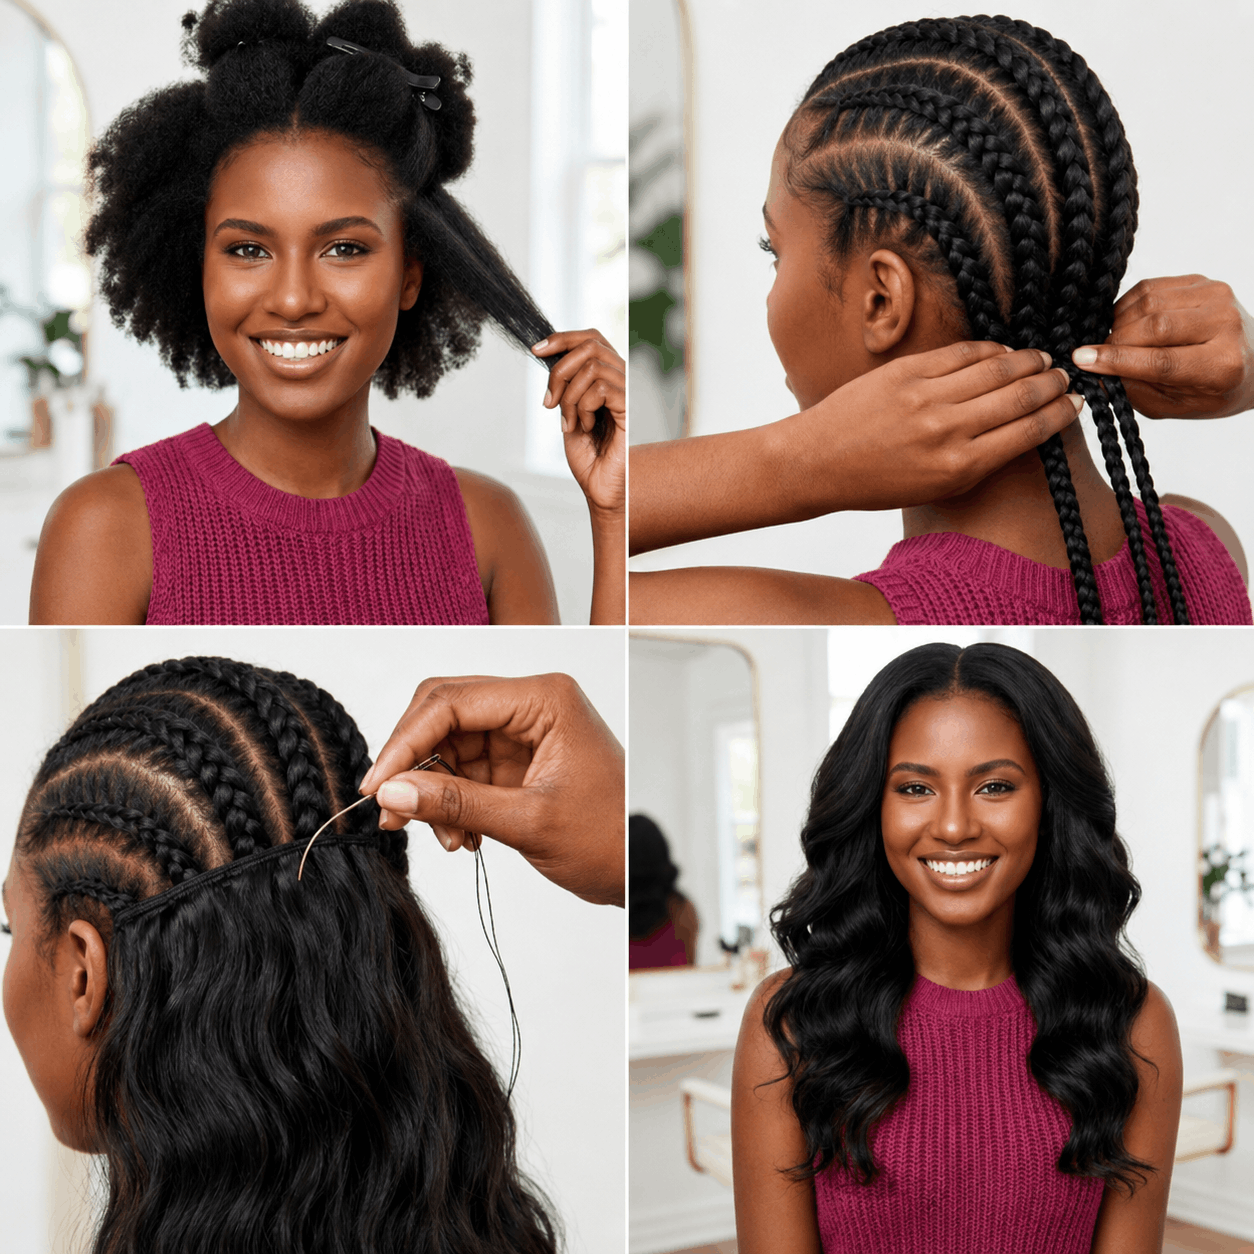
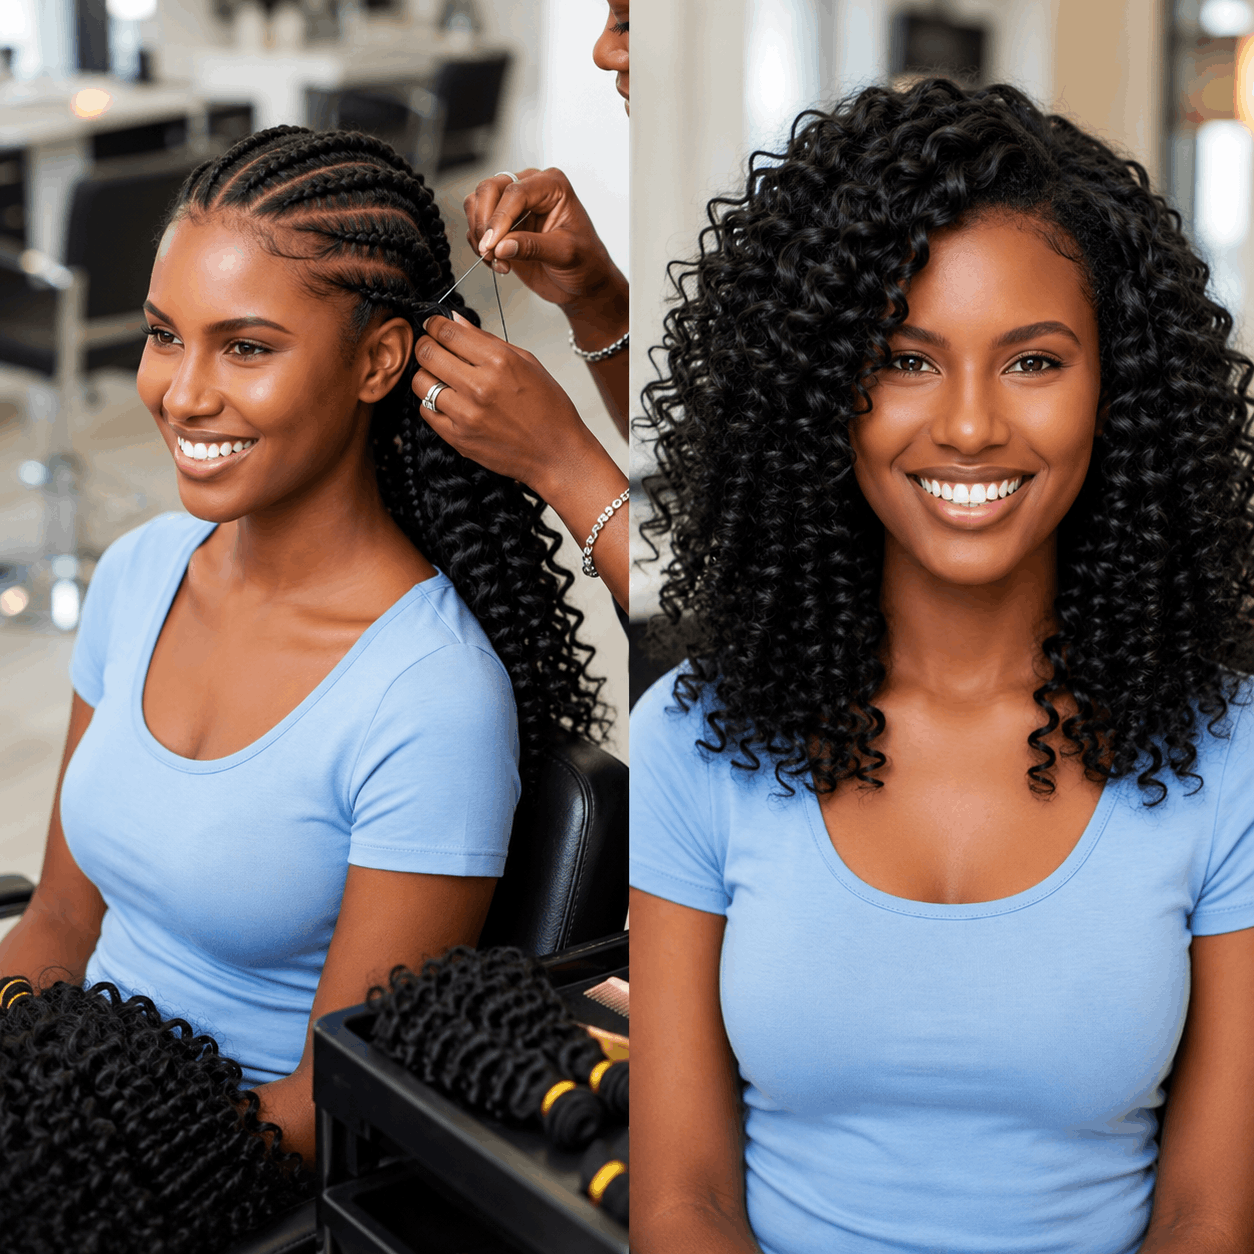
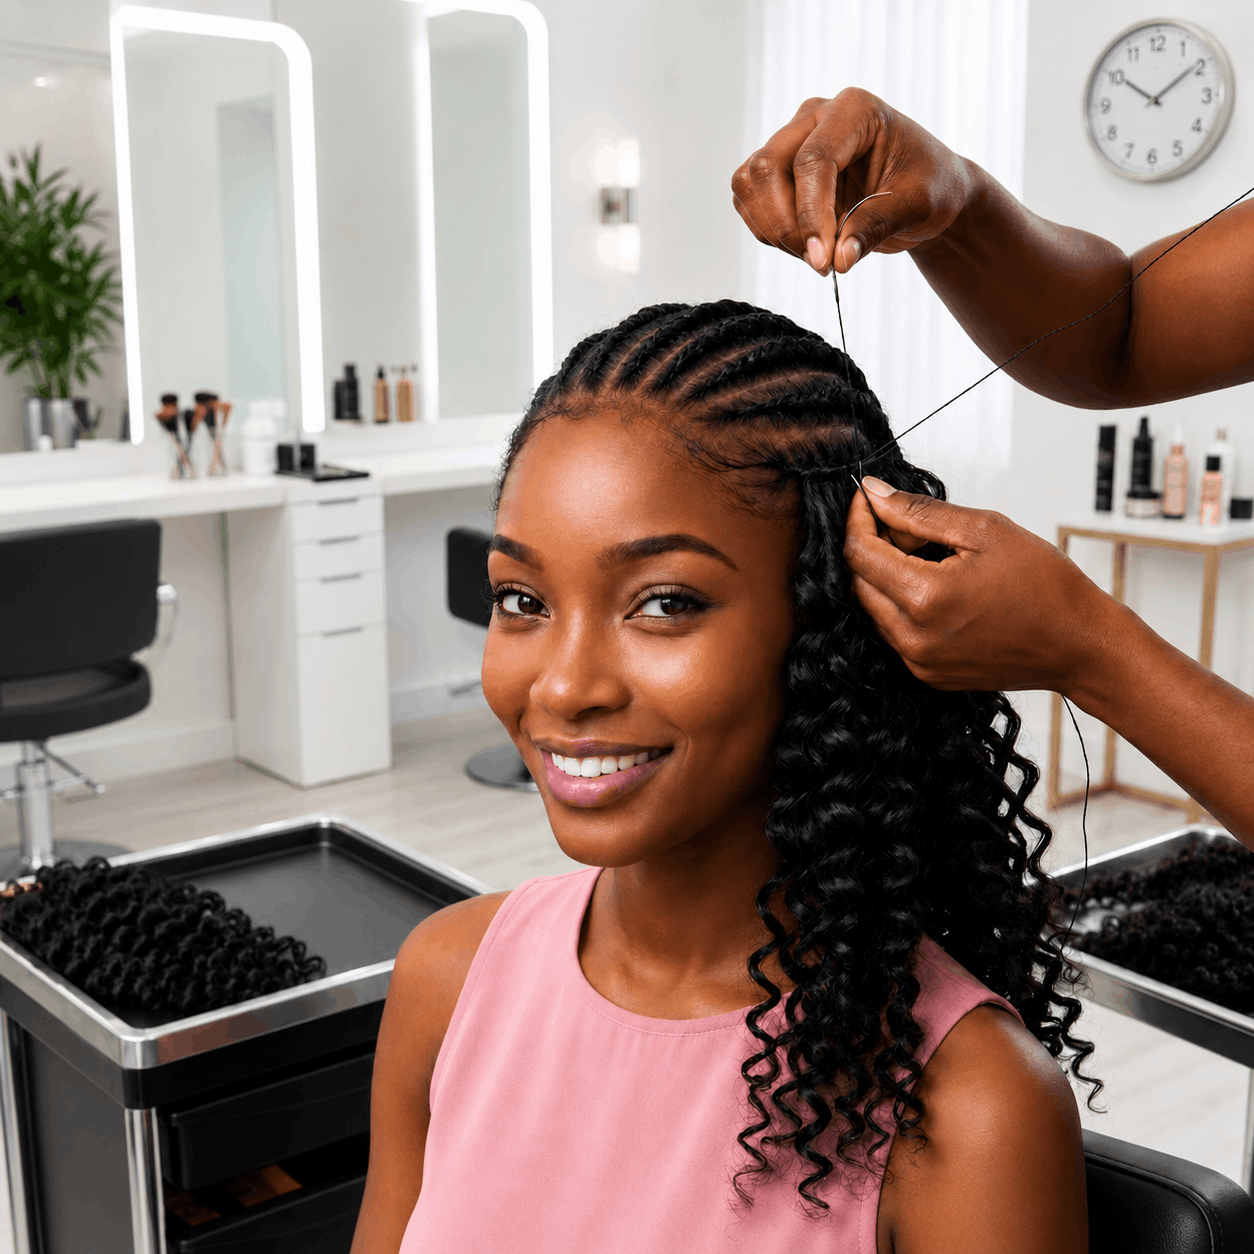
Installing sew-ins involves creating a braid pattern by cornrowing your hair and then sewing the wefts of the extensions onto the cornrows. A weaving net can also be used to fill gaps between the braids. Sewing usually starts at the nape of your neck. You can also leave out a small section of natural hair to help the extensions blend more naturally. This process can take anywhere from 1 to 4 hours depending on the amount of hair being installed and individual style preferences.
Be sure to work section by section for a seamless look, measuring each track as needed. Once finished, use a wide tooth comb to blend your hair with the extensions for an even finish. The crochet method uses a crochet needle, looping it through the cornrows and securing hair without excessive pulling. With these tips in mind, you can have beautiful hair in no time!
Installing weave hair extensions is a great way to get the look you want without having to wait for your hair to grow. With a little effort, you can have gorgeous locks in no time! Ready to find out how? Read on for our step-by-step guide on How to Install Hair Extensions!
How To Install Hair Extensions: Step-by-Step Guide
Hair extensions installation may seem daunting, but with our step-by-step guide, you’ll be a pro in no time.
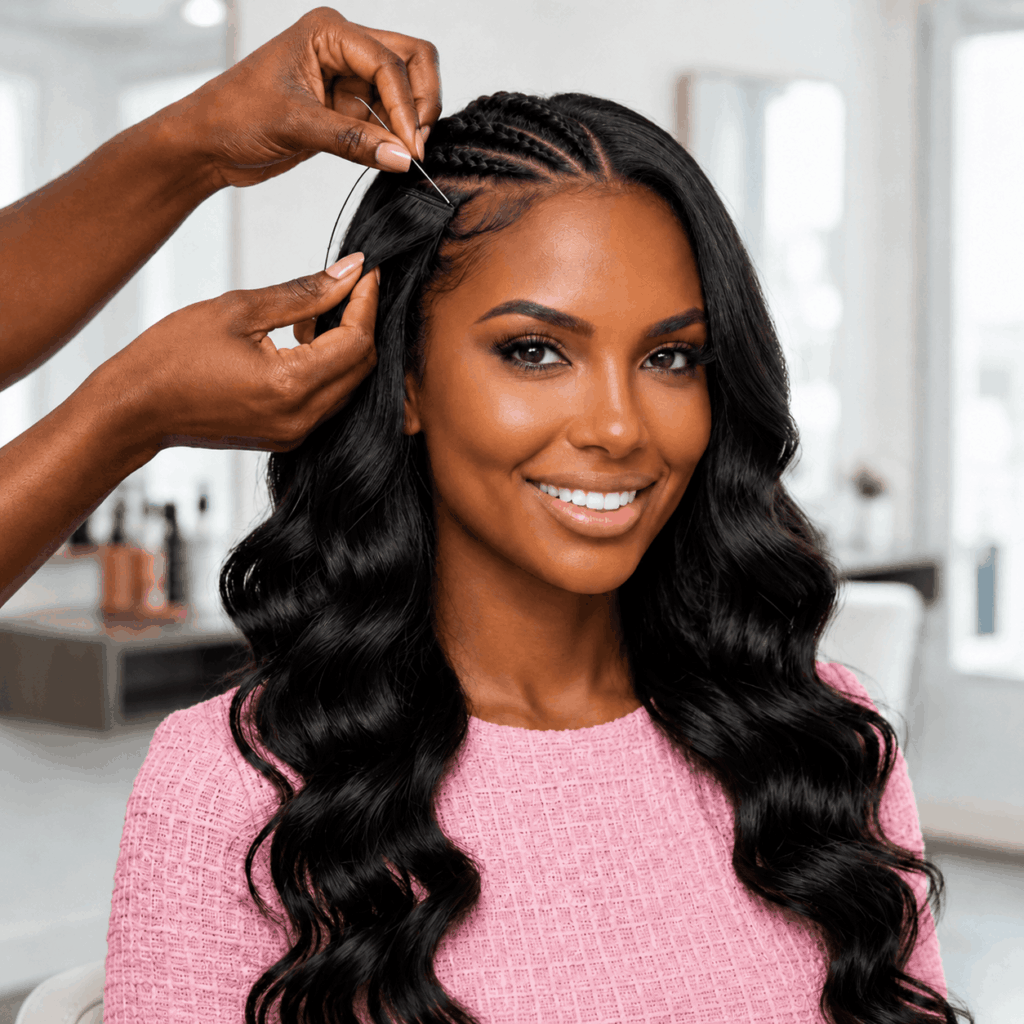
A sew-in installation starts with clean, detangled, and fully dry hair. First, shampoo and condition your hair, then gently blow-dry it so the braids can lay flat. Next, part your hair and create a braid pattern that supports the style you want, such as a middle part, side part, or leave-out. Make sure the braids are snug but not too tight, because too much tension can irritate the scalp or damage your edges.
After braiding, place a weaving net over the braids o weave hair if extra support is needed. Then sew the hair wefts onto the braids using a curved needle and weaving thread. Start at the back and work upward in neat rows. Once all tracks are installed, blend your leave-out or closure for a natural finish. Trim, style, and lightly moisturize your scalp to keep the sew-in fresh and comfortable.
Wealthy Hair Quality Standard
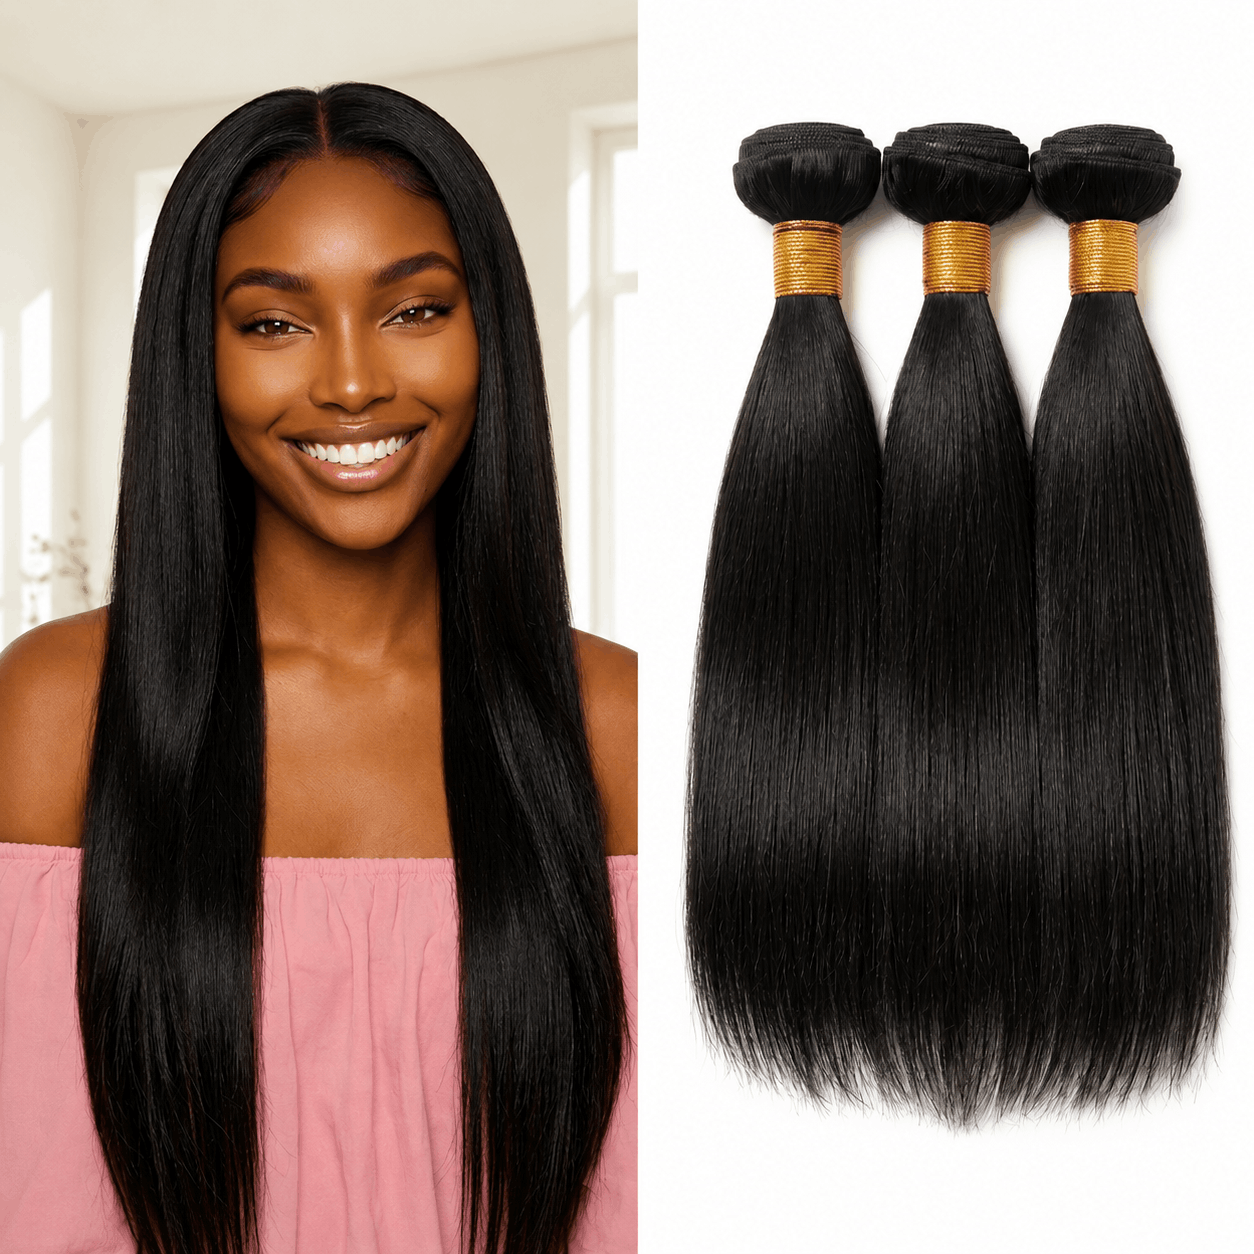
At Wealthy Hair, we use only high-quality materials to create hair extensions and wigs that look beautiful, feel comfortable, and last longer. Our ethically sourced human hair is carefully selected for softness, strength, and natural movement, so every wig delivers a realistic, luxurious finish.
Our extensions are made with non-acid-washed processing to help protect the hair’s natural integrity, cuticle quality, and healthy appearance. Each wig is carefully inspected for quality, comfort, durability, and realism, giving you a premium product you can wear with confidence.
Frequently Asked Questions
Q: What is hair installation and how is it done on an entire head?
A: Hair installation, also known as hair extensions, is a popular hair styling technique that involves adding artificial or natural hair to an individual’s existing hair to achieve a fuller or longer hair look. Hair installation can be done on an entire head, and there are several ways to do it.
Q: What tools do I need to install hair extensions?
A: Most types of hair extensions will require a brush, comb, clips and either glue or tape for installation. Depending on the type of extension you’ve chosen, you may also need heat or bonding adhesive.
Q: How long does it take to installing weave hair extensions?
A: The process usually takes about an hour depending on the amount of hair being installed and the technique used. quick weaves usually last about 3–4 weeks. Micro-link fusion can last up to 6 months with proper maintenance.
Q: Is it difficult to install hair extensions yourself?
A: It is possible to install your own hair extensions if you have enough patience and knowledge. However, you should always seek professional help if you feel uncertain or inexperienced. A skilled stylist can help prevent damage and achieve a more natural result.
Q: Are there any hair extension installation tips for my hair?
A: Yes! Be sure to start with clean, dry hair before installation, and wash extensions only as recommended for the method used. Make sure that all pieces are properly blended in with your natural locks. Lastly, use a wide tooth comb to ensure that everything is even and there are no visible lines from the extensions. Keep the hair protected from excess heat during styling.
Q: What is a sew in weave and how is it installed?
A sew in weave is a hair extension technique that involves sewing hair wefts onto braided hair to create a fuller, longer hairstyle. The process starts with washing and braiding the natural hair, then sewing each track onto the braids using a needle and thread. During takedown, after sewing the end to the hair extension, the cornrow can be cut at the knot to remove the weave, but it should be done carefully.
Q: How long can I keep a hair weave in?
A: It depends on the type of hair weave you have and how well you take care of it. A typical sew-in hair weave can last anywhere from 6-8 weeks, while a glued-in weave may only last 2-4 weeks. If you have a high-quality human hair weave and take good care of it (e.g. using sulfate-free shampoo and conditioner, avoiding heat styling tools), it may be able to last longer. During removal, some natural shedding or hair fall can be normal, but do not pull on the weave or your own hair.
Q: What is the best hair weave installation method for beginners?
A: For beginners, many people choose the sew in weave method, but the best installation method still depends on your comfort level and hair type. This method involves braiding your hair and then sewing the hair extension onto the braids using a needle and thread. Clip-ins can also save time for beginners because they are temporary and easy to remove.
Q: Can I use flat Iron to make my hair straight?
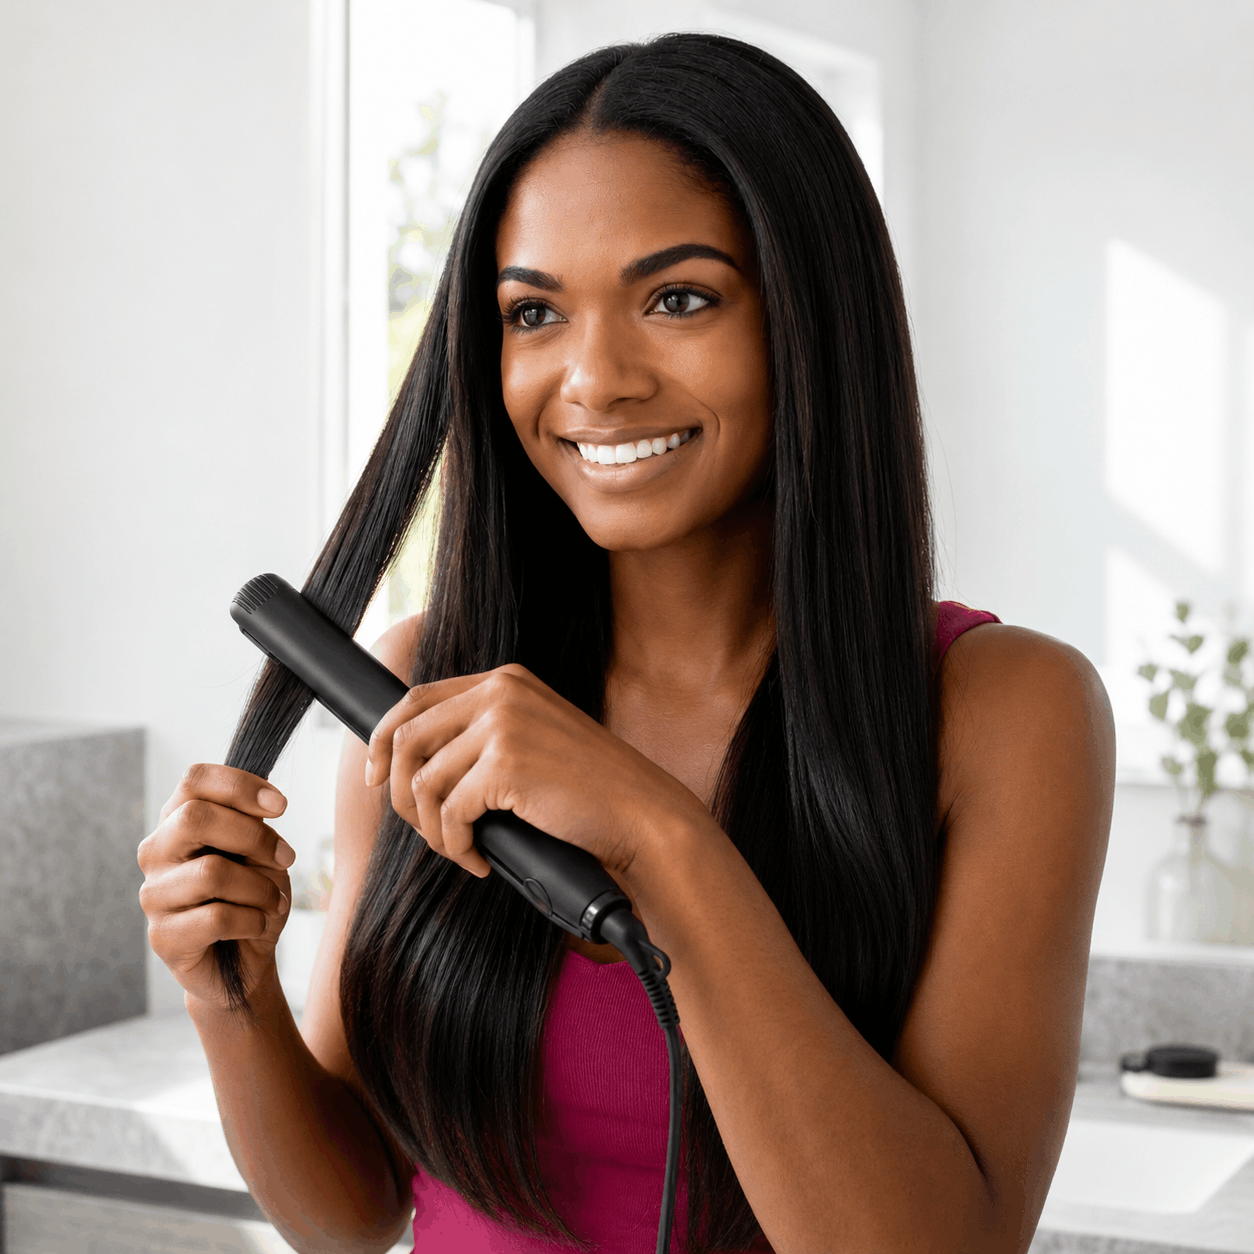
A: Yes, you can use a flat iron to make your hair straight. Flat irons, also known as straightening irons, are designed to smooth and straighten hair by using heat to break down the hydrogen bonds in the hair’s natural texture, resulting in a sleek, straight style.
Q: Can I add volume to my hair using hair extensions?
A: Yes. By adding extra hair to your existing hair, hair extensions can increase the overall hair volume and thickness of your hair. Once installed, the added hair can be styled in different ways to suit your look. Small finishing details also help it blend better with your hair. However, it is important to choose high-quality extensions and to have them installed by a professional to avoid damaging your real hair.
Q: What is hair installation with micro links?
A: Hair installation with micro links is a hair extension technique that involves attaching small sections of human hair extensions to your real hair using tiny metal or silicone beads called micro links. The tiny links form the attachment point and should not sit too close to the scalp. They are a lightweight option for some hair types, while thicker hair may also handle fusion methods well.
Are you curious about the fascinating history of lace front wigs and who invented wigs? Learn more about the rich history of wigs to help you try out a lace front wig for yourself here: The History of Lace Front Wigs and Wigs in General.
