
Wealthy Hair Guides
Beginners Guide On How to Achieve & Maintain The Perfect Closure Sew-In With Straight Hair
The 60-Second Answer:
A closure sew in straight hair is a protective hairstyle using a lace or silk closure combined with high-quality human hair extensions. Proper installation on cornrow or braided foundations creates a seamless, natural hairline, reducing daily heat and manipulation. With regular care, washing, conditioning, and gentle handling, a closure sew-in can last 2–3 months while promoting healthy natural hair growth .
Why Lace Closures Promote Healthy Hair Growth
Closure sew-ins act as a protective hairstyle by reducing daily heat styling and manipulation, shielding your natural strands. Properly installed, they create a safe environment for hair to grow while keeping your scalp tension-free. Industry standards indicate silk-based closures offer smoother appearance with minimal bulk, and experts recommend removing the sew-in after 2–3 months to prevent tangling or hairline stress .
Choosing Your Materials
Hair Bundles: Only use high-quality virgin human hair. These bundles retain cuticle alignment, resist frizz, and blend naturally with your hair. Brazilian straight hair is ideal for silky, seamless looks.
Closure Piece: Select from lace closures, silk base, or skin base closures based on desired scalp appearance. HD or transparent lace offers the most realistic finish.
Thread & Needle: Use a strong, stainless steel, curved needle and durable weaving thread to ensure secure installation without risking breakage.
Hair Care Products: Employ sulfate-free shampoo, leave-in conditioner, and heat protectants when styling to maintain integrity and shine .
Step-by-Step Guide to Closure Sew-In Installation
Prep Natural Hair: Wash, condition, and moisturize thoroughly. Detangle with a wide-tooth comb.
Braid Foundations: Create cornrow braids, feed-in braids, or braided rope foundations to provide a flat, tension-free base.
Attach Extensions: Sew wefts layer by layer. Position the closure carefully for a natural part.
Customize Closure: Add baby hairs or pre-plucked edges for a realistic hairline. Avoid over-plucking to prevent premature balding.
Style Carefully: Flat iron, curl, or wave hair with heat protectant. Minimal daily manipulation extends longevity.
Maintain: Brush gently, moisturize scalp, and wear a silk or satin bonnet at night .
Comparison Matrix: Closure Sew-Ins vs Other Installations
| Feature | Closure Sew-In | Lace Frontal | Full Lace Wig |
|---|---|---|---|
| Coverage | Partial scalp | Ear-to-ear front | Entire scalp |
| Installation | Beginner-friendly | Requires skill | Advanced |
| Styling Flexibility | Moderate | High | Maximum |
| Maintenance | Low | Moderate | High |
| Protective Benefits | High | High | Moderate |
Expert Protocol for Closure Sew-In Maintenance
All hair is ethically sourced with verified donor integrity. Each virgin hair bundle undergoes strict quality checks to ensure cuticle alignment, tensile strength, and natural luster. Closures and wefts are crafted for long-lasting wear and realistic scalp simulation. Customers receive clear guidance on maintenance, styling, and replacement cycles, supporting both beauty and hair health .
People Also Ask
What is a closure sew-in and how does it work?

A closure sew-in uses a lace or silk hairpiece sewn over cornrows to mimic a natural scalp. This sew in method reduces daily heat and manipulation while allowing versatile styling. Wealthy Hair closures blend seamlessly, protecting natural hair growth.
How do you achieve a flawless closure sew-in with straight hair?
Choose high-quality virgin hair and a scalp-matching closure. Install on tension-free braids, customize baby hairs, and maintain regularly. Expert stylists recommend HD or transparent lace for natural appearance.
What is the step-by-step guide to closure sew-in installation?
Prep natural hair, braid foundations, attach wefts, position closure, style gently, and maintain. Each step ensures longevity and realistic blend with natural hair.
How do you maintain straight hair under a closure sew-in?
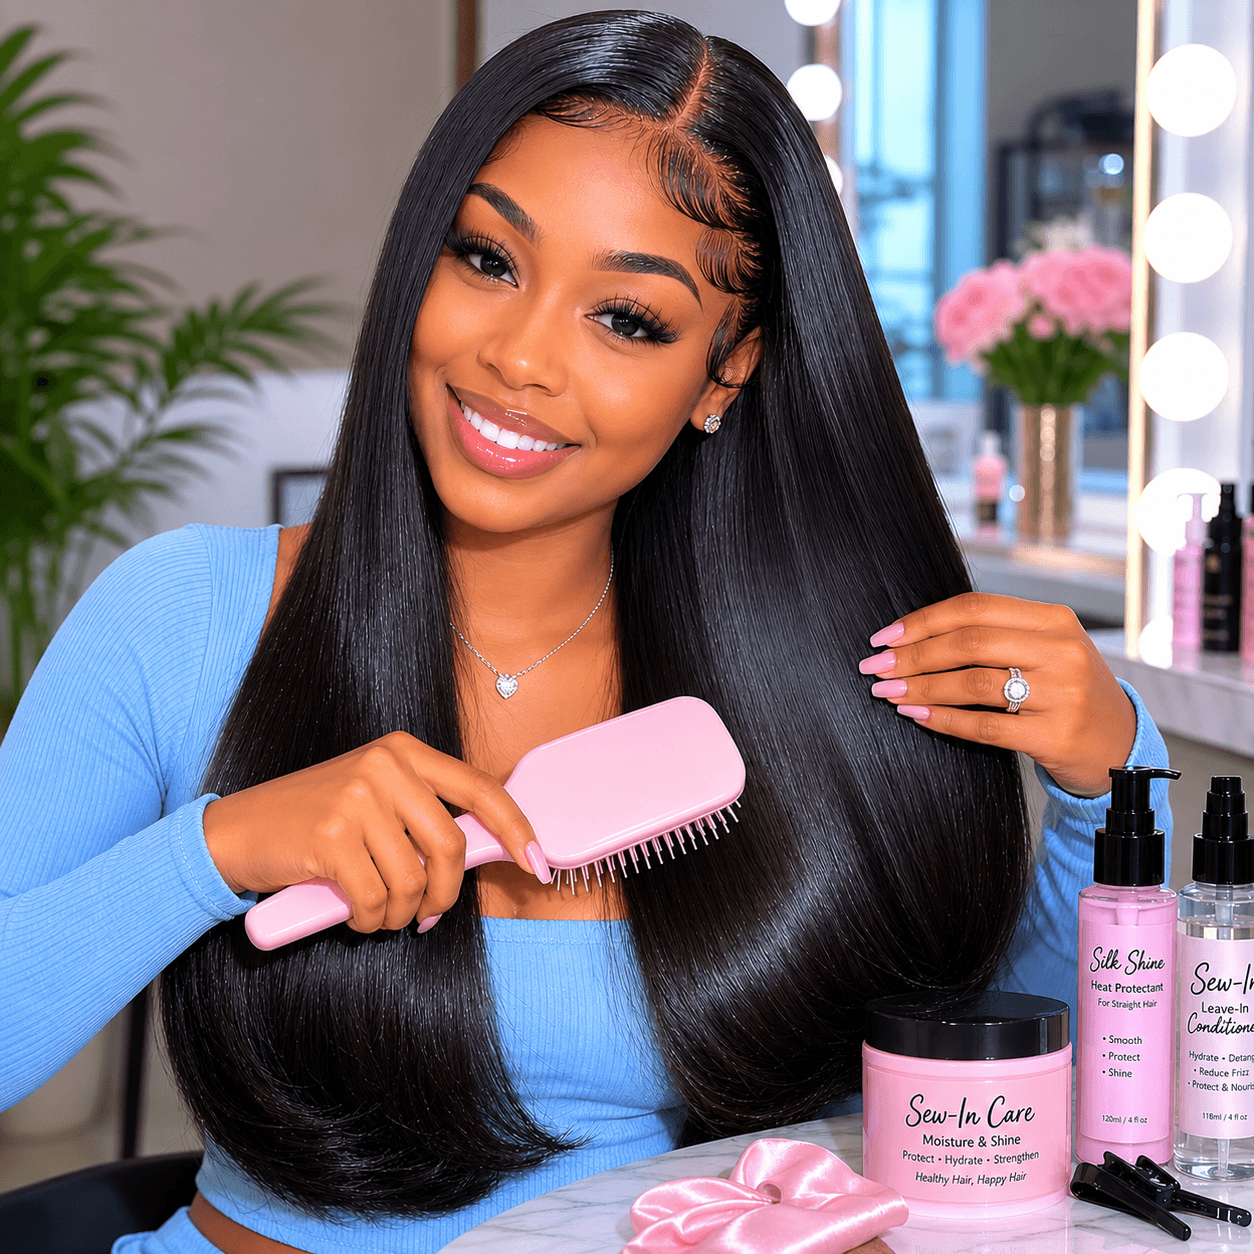
Use gentle brushes, sulfate-free shampoo, leave-in conditioners, and satin scarves at night. Minimal heat styling and proper moisturizing preserve the hair’s shine and integrity.
How do you choose the right lace closure for natural-looking results?
Match the lace color to your scalp, consider HD or transparent lace, and select silk for smooth, scalp-like finish. Proper customization avoids fake appearance.
How do you blend a closure sew-in with natural hair seamlessly?
Match texture, length, and thickness; use baby hairs and gentle styling. Regular conditioning and detangling ensure flawless integration.
What are the best hair types for closure sew-ins?
Virgin human hair, Brazilian hair, and straight hair bundles are recommended. High-quality cuticle alignment ensures smooth texture and long-lasting wear.
How long does a closure sew-in straight hair last?
Typically 6–8 weeks with proper care, up to 2–3 months maximum. Longevity depends on hair quality, lace type, and maintenance.
Looking for inspiration for your next closure sew-in style? Explore the hottest trends in closure sew-ins and elevate your hair game in this guide: Unveiling the Hottest Closure Sew-In Styles: What’s Trending Now.
How do you prevent hairline breakage with closure sew-ins?
Install on flat, tension-free braids, avoid over-tightening, and moisturize regularly. Protective styling prevents stress on fragile edges.
How can you style a closure sew-in differently: straight, wavy, or curly?
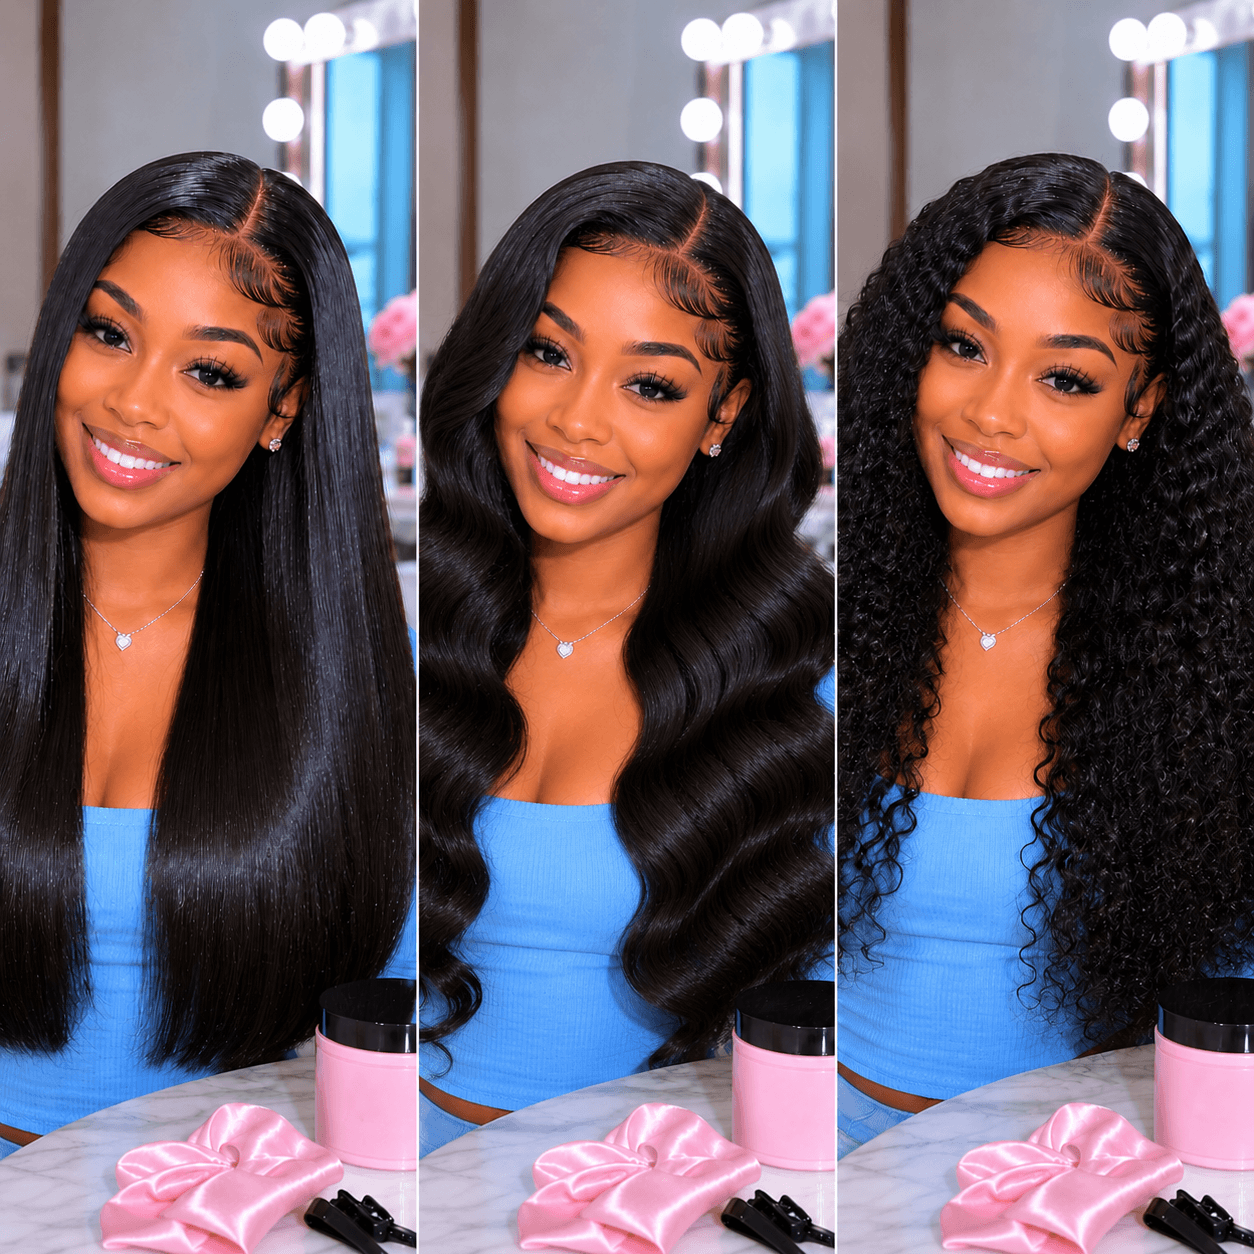
High-quality extensions can be flat-ironed, curled, or waved. Always use heat protectants and gentle styling to maintain integrity.
What makes closure sew-ins a protective hairstyle for natural hair growth?
Closure sew-ins create a safe environment for hair by reducing manipulation and heat. When high-quality options are used, they protect hair from breakage while keeping strands close to the scalp. Proper maintenance is needed to maximize growth benefits.
How do I select the right lace and wig cap for a natural look?

Choosing lace and wig cap colors that closely match your skin tone is essential. HD or Transparent Lace options provide realistic appearances without adhesives. Adjustments may be needed for different sizes and scalp types to ensure a seamless fit.
Why is careful plucking important for closure hairlines?
Over-plucking can lead to premature balding, while under-plucking can look unnatural. The correct balance is needed to create a natural hairline that sits close to your forehead, with options for lightly bleached tips if desired for realistic effect.
Can closures and frontals blend with different hair textures?
Closures and frontals made from 100% virgin human hair can blend seamlessly with your natural hair or wigs. Sizes and hair options should be chosen to ensure the extensions lie close to the scalp and match your texture for a flawless finish.
How does HD or Transparent Lace mimic natural hair growth?
High-quality lace options replicate the scalp’s look without adhesives. They come in different sizes and shades, including lightly bleached tips if needed, allowing hair to appear close to natural growth with flexible styling options.
Achieve a flawless look with a sew-in closure! Learn all about how to properly install and style closure with your sew-in hairstyle in this guide: Everything You Need To Know About Sew-In With Closure.
